

GitHub is a service provided by Microsoft that many software developers use for source code storage, management, sharing, and version control. It has become stable in the software and IT field. Not only does it help independent developers, but also companies in creating robust repositories with efficient processes in place. Keep reading to learn the basics and how to set up GitHub repositories and organizations for your business.
Pre-Requisites
Goals of Implementation
GitHub implementation aims to help businesses and developers improve their development management and source control. Integration allows you to achieve the following:
- Easier visibility over progress
- Simpler access to resources between members
- Clear documentation on updates and resources
- Proper version control to maintain code integrity and prevent conflict between developer commits
- Manageable code repository
- Quality Control & Governance
Creating a GitHub Organization
An organization in GitHub is meant to centralize all your group/business’s resources and isolate them from the outside. Only members that need access to your source code should be added to the organization. Let’s go through how to set up a GitHub Organization.
- Log in to your GitHub account
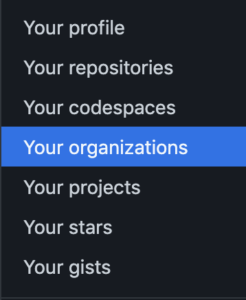
- On the top right of the webpage, click on your GitHub account icon
3. Select “Your Organizations”
4. Click on “New Organization”

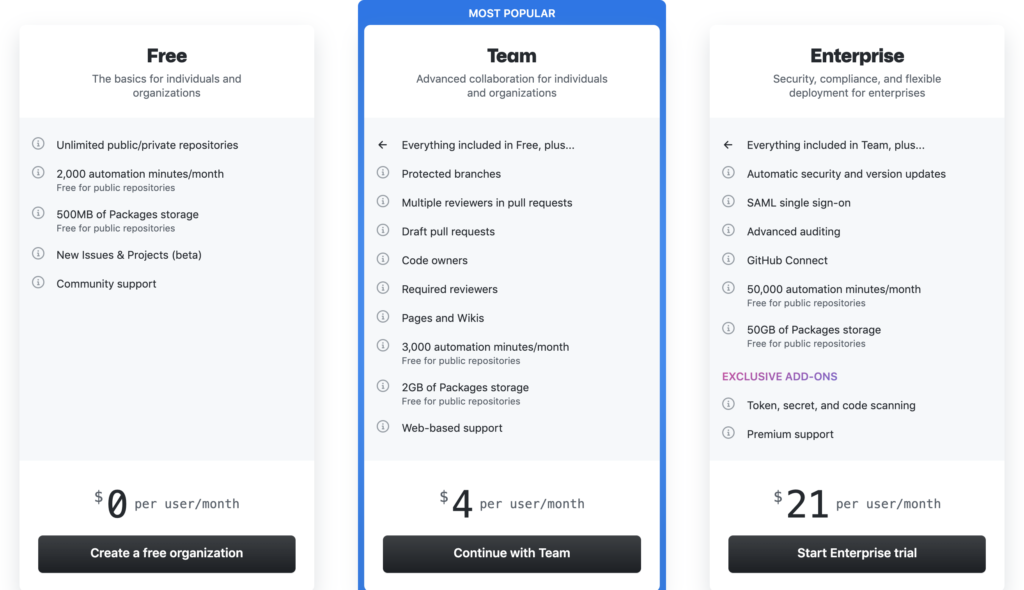
5. Select your desired plan (we will be using the free one in this example)
6. Enter the necessary information
- Organization account name
- Contact email
- Organization type (Personal or Business)
- Business name
- Add members (this can be done later on)
- You will be prompted with a survey on the work being done in the organization. Fill it out accordingly
And now you’re done. Your organization has been fully set up!
Creating A Project GitHub Repository
Repositories are built to store and manage code. Making sure you set up your repository properly is imperative for effective access and distribution. There are multiple ways to set up a repository. We will cover the main ones here.
New Repository from the Web
- Go to your organization
- On the “Overview” tab, above the list of repositories, click on the green “New” button
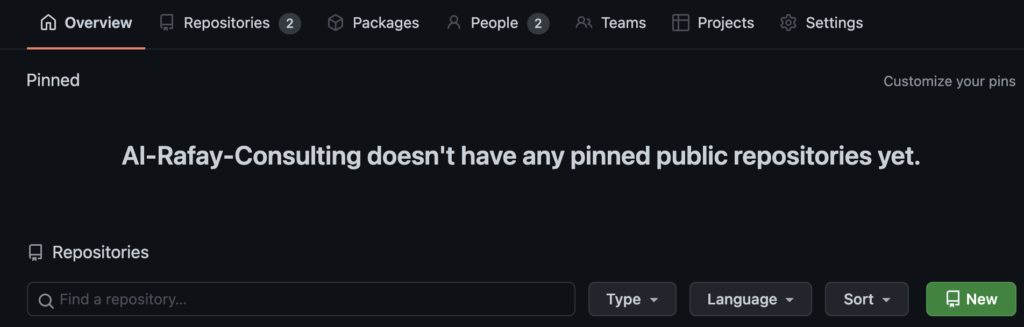
3. Alternatively, go to the “Repositories” tab and click on the “New Repository” button
4. Provide repository details
- Name
- Description (If needed)
- Always set to Private
- Add a README file
- Add .gitignore to prevent sensitive info being put on the repo along with making sure the available code is available to use for anyone simply
5. Click “Create Repository”
From Existing Project
- In project terminal, run command
git init
- This initiates your project as a git Repo
- Create repository on GitHub
- Get the origin link
- Click on the code button
- Selects HTTPS tab
- Copy the repo origin link

- Run command:
git remote add origin [repo origin link]
- This connects the local folder to repository
New Repository Locally
- Create the project file on your local system
- In project terminal, run command:
git init
- Initiates project as a git Repo
- Create repository on GitHub
- Get the origin link
- Run command:
git remote add origin [repo origin link]
- Connects local folder to repository
Steps After Creation
- Add team members to the repository
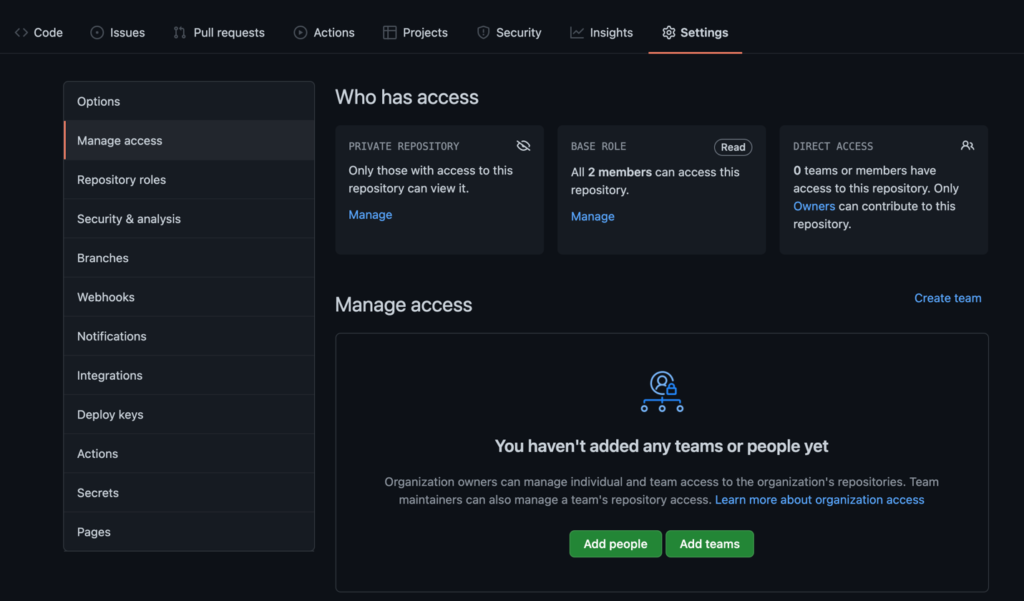
- In the repo, navigate to settings tab
- On the left navigation, select “Manage access”
- Click “Add people”
- Write README which includes the following:
- Project description
- Any necessary knowledge that needs to be conveyed to team members
- Any necessary commands for use and how to use
- Build details
- Useful links
- Other necessary details and instructions
2. Update .gitignore as needed
Cloning A Repository
Cloning a repository allows you to have a copy of the source code on your local system to work on. There are a few ways to do so, here we will be covering the main few:
From command line
- cd to the directory that will be the clone destination
- Get the repo origin link
- Run command:
git clone [repo origin link]
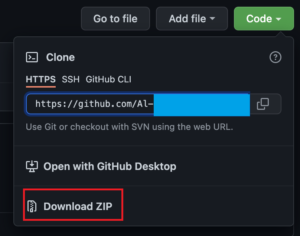
From Download
- In repository, click “Code” button
- Go to “HTTPS” tab
- Download ZIP file
- Extract ZIP file to desired directory
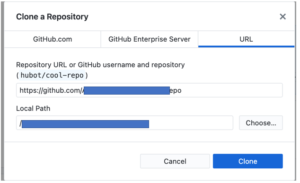
From GitHub Desktop
- In repository, click on “Code” button
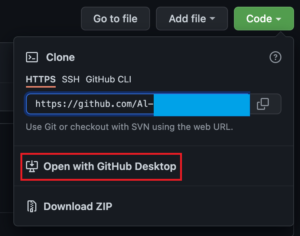
- Click “Open with GitHub Desktop”
- Update “Local Path” field to desired location
- Click clone
Committing & Merging
Committing and merging is used to push your changes to the global repository. It is also used to document any changes to the source code. There are different ways of doing so depending on which one you are most comfortable with.
Through command line
- Save changes to the source code file(s)
- Open the project terminal
- In project terminal run command:
git add [file name (or –A for all)]
- Run command:
git commit -m “[message]” with a message to concisely summarize describe your changes
- Run command:
git push
Through GitHub Desktop
- Save changes to the source code file(s)
- Open GitHub Desktop
- On the bottom left, enter a summary of your changes (description optional)
- The summary is the same as the message in other types of commits
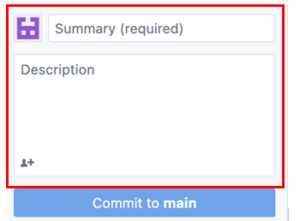
- Click “Commit to [branch]”
- Click “Push”
Through Visual Studio Code
- Save changes to the source code file(s)
- Click on the “Source Control” tab on the left side (3rd tab)

- Enter message and then hit checkmark icon above message (if branched, create pull request instead)
- Then click “Sync Changes” (if pull requested created, repository manager will approve and merge the code instead)
Pull Changes
Pulling changes allows you to add changes other teammates have made to the source code and add it to your own local file. We are gonna cover the main ways to pull changes.
Pull through command line
- In project terminal, run command:
git pull
Pull through Visual Studio Code
- On the bottom left of VS code, there will be an icon of a down arrow. Click that to pull any changes pushed from others
Pull through GitHub Desktop
- If there are changes to pull, you will be presented with a button that says “Pull Origin” on the main screen. Click and the changes will be made to your local repository
Branching
Branching is a key function of source control. It is necessary to avoid conflicts, maintain integrity, and document changes all by isolating application updates into their own branches. Each user within the organization should be creating their own branch, and there should be branches for different features being worked on. Each time a commit is made to a branch, a pull request will be made that will be reviewed by the project owner for approval. Once it is approved, it will then be added to the main/master branch.
How to Create a New Branch
- In the project terminal, run command:
git checkout -b [branch name]
- Make changes and commit to publish the branch
Submitting Pull Requests
Pull requests are important in the source control process. Pull requests can be reviewed by the project owner to prevent any potential conflicts and catch errors before they are committed. This allows for greater quality control and documentation over code implementation.
Pull Requests Through GitHub Web
- While in the desired branch other than main, run command in project terminal:
git push
- Go to the repository in the web client
- Above the file directory, you will see an alert for the branch with changes called “Compare & Pull Request”. Otherwise, you can navigate to the Pull requests branch

- Ensure you are creating a pull request into the proper branch (in most cases, main/master)
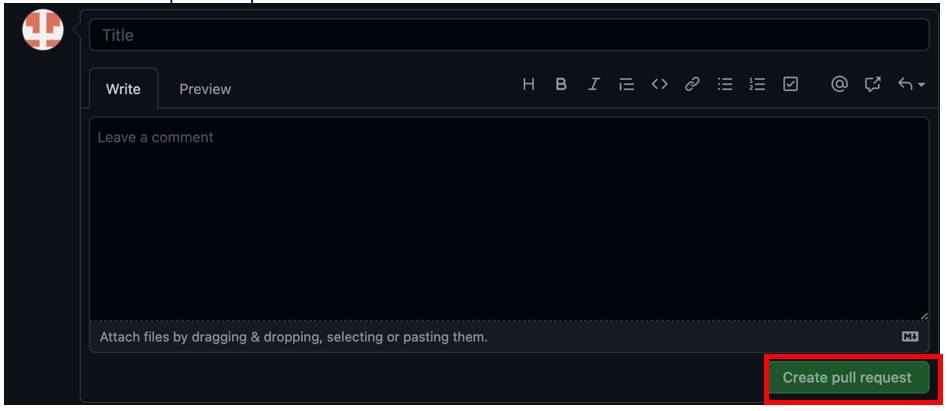
- Click and write a description
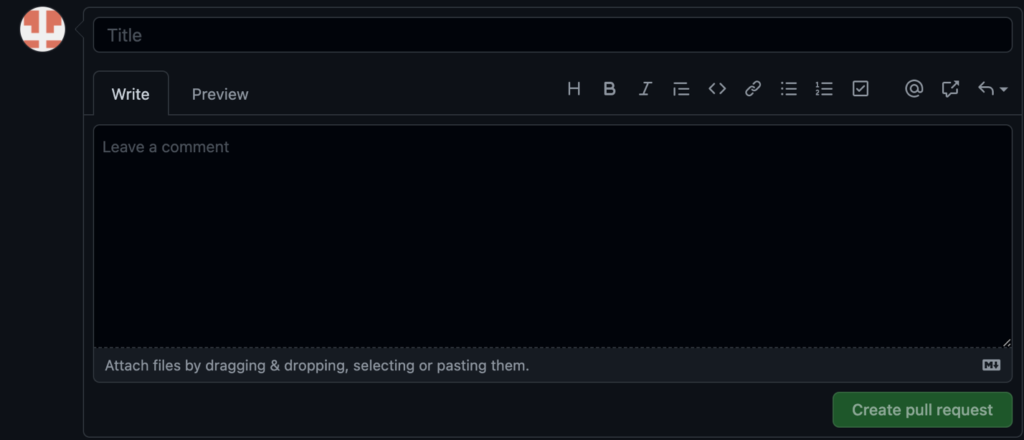
- Click “Create pull request”
Through GitHub Desktop
- While in the desired branch other than main, run command in project terminal:
git push
- Open GitHub Desktop
- Select the working branch
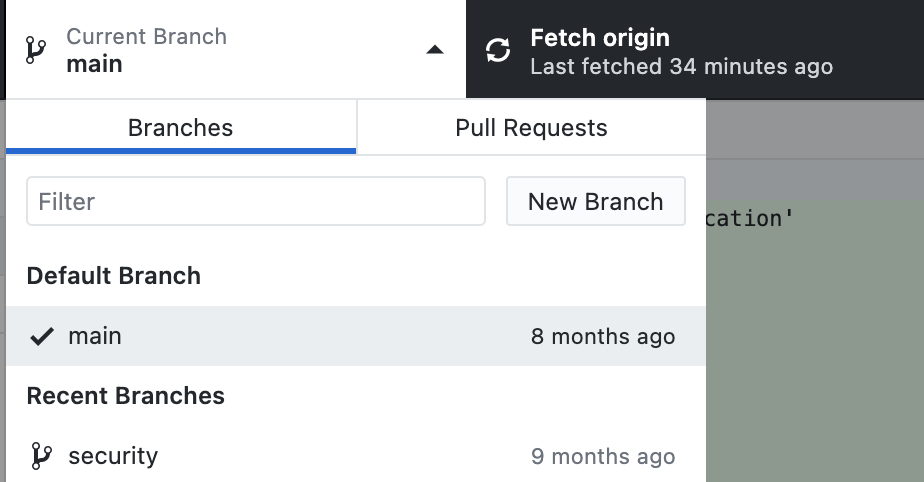
- Click on “Create pull requests”
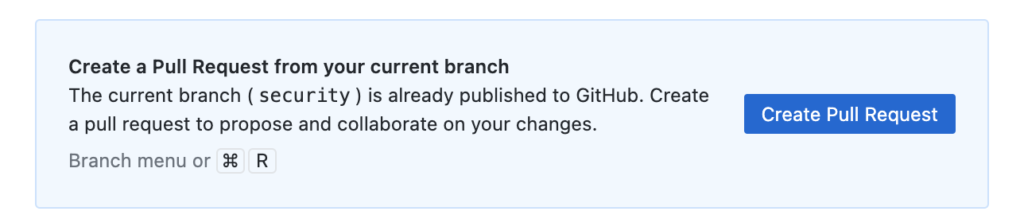
- Web link will open, follow steps for web from here onwards
Approving Pull Requests
Like mentioned before, the approval process not only provides quality control, but also allows for greater oversight over development operations. With greater documentation, source control, and governance, you have the insight to create higher quality code.
- Navigate to project repo in the organization
- Go to “Pull Requests” tab

- If there are any comments, write them in the text box. You can also attach files
- If you want to approve, click “Merge pull request”
- Other options are situational
- If you want to reject, click “Close pull request”
From here, you have all that you need to get started with GitHub. With these tools at your disposal, you can set up a source control system to set up efficient DevOps and workflow automation.